Dispatcher Pro and Agent Addon Setup
1.Dispatcher Pro
To Active the Dispatcher Pro
📍 Admin Path:
Settings → Addons → Dispatcher Addons
✅ How It Works:
- Purchase Code Verify – Enter your purchase code and click Verify to continue.
- Upload Option – Once the purchase code is verified, the file upload option will be displayed.
- Upload File – Upload the file and click the Upload button. The upload process may take some time — please check again after 10 minutes.
- Run the following commands:
- 📌 npm install @fullcalendar/vue3 @fullcalendar/core @fullcalendar/daygrid @fullcalendar/timegrid @fullcalendar/interaction
- 📌npm install @fullcalendar/bootstrap @fullcalendar/list @fullcalendar/multimonth
- 📌 npm run build
- 📌 php artisan migrate
- 📌 php artisan db:seed
- After running these commands, go to
Settings → Business Setting.You will find the Dispatcher Pro login URL and Agent login URL there. - You can access it through that URL using the same dispatcher login email and password.
- Create an agent for login.
Users → Agent Management.
💡 Note: It will be displayed only after entering your purchase code.
✅ May Sure that You have Setup Properly:
sync to database.Supervisor Setup.2.Agent Management
-
Agents: Admins can add, edit, and delete agents based on the Service Location. Admins can view agent details in the View Profile section.
📍 Admin Path:
Users → Agent Management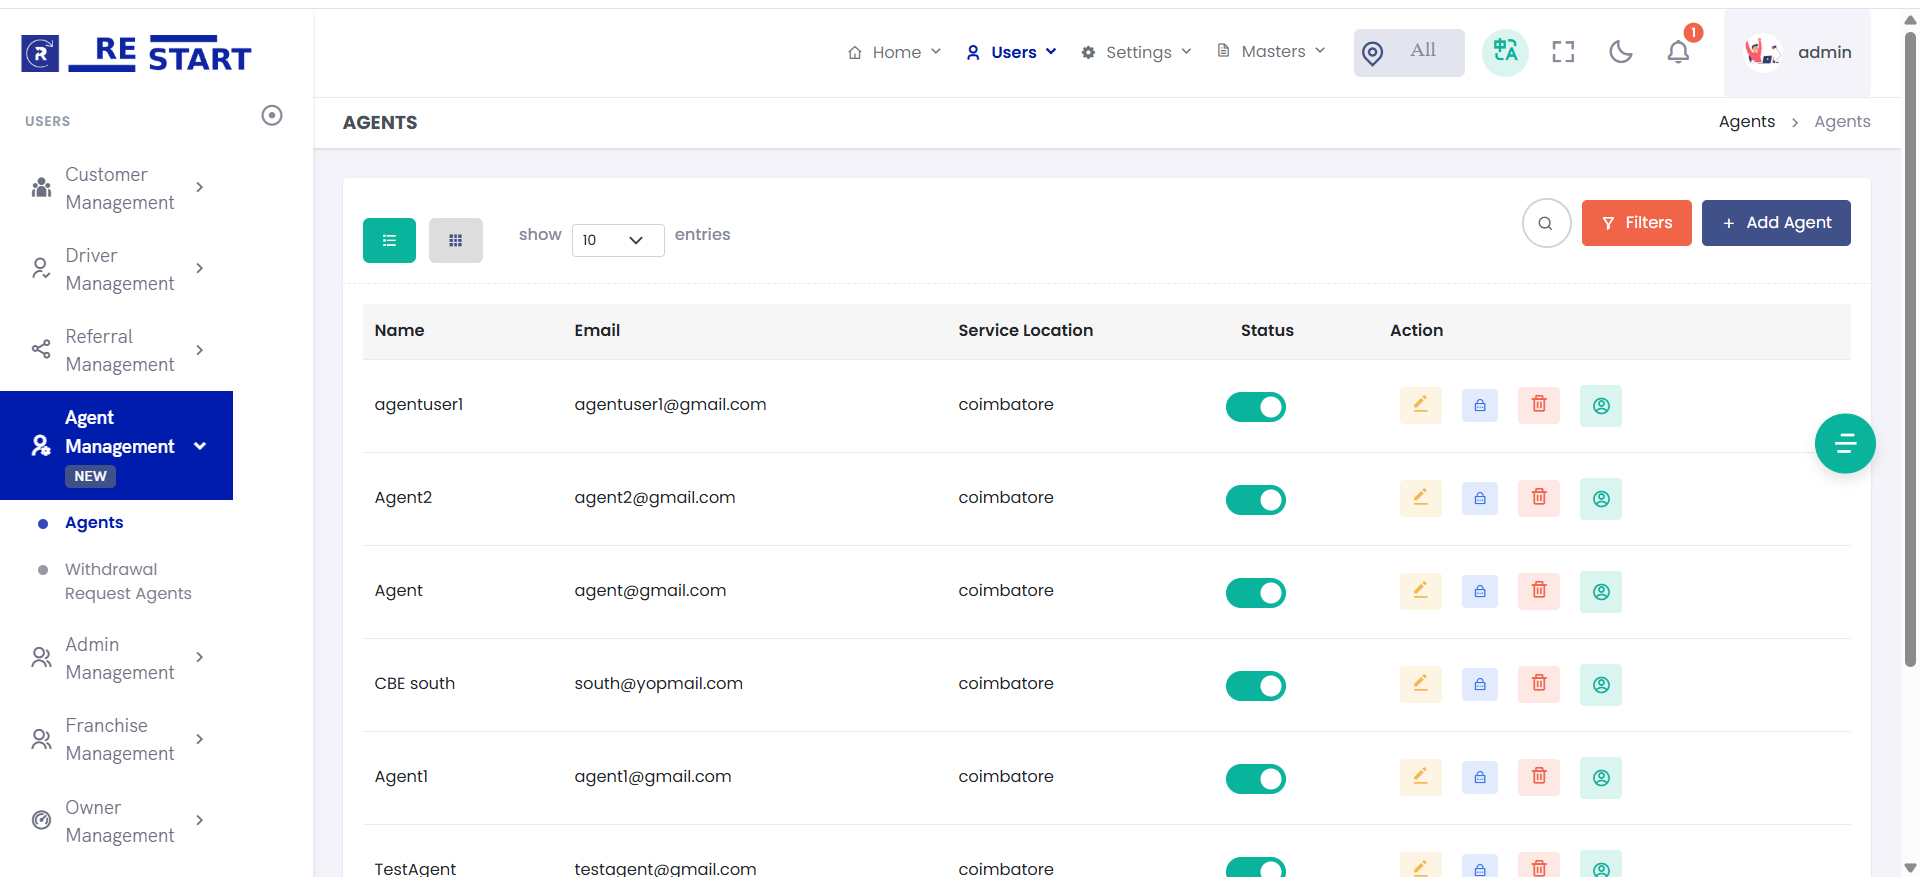
-
Agents Commissions: Admins can book rides, and at the end of the ride, the agent commission is added to their wallet.
📍 Admin Path:
Home → Price Management → Set Price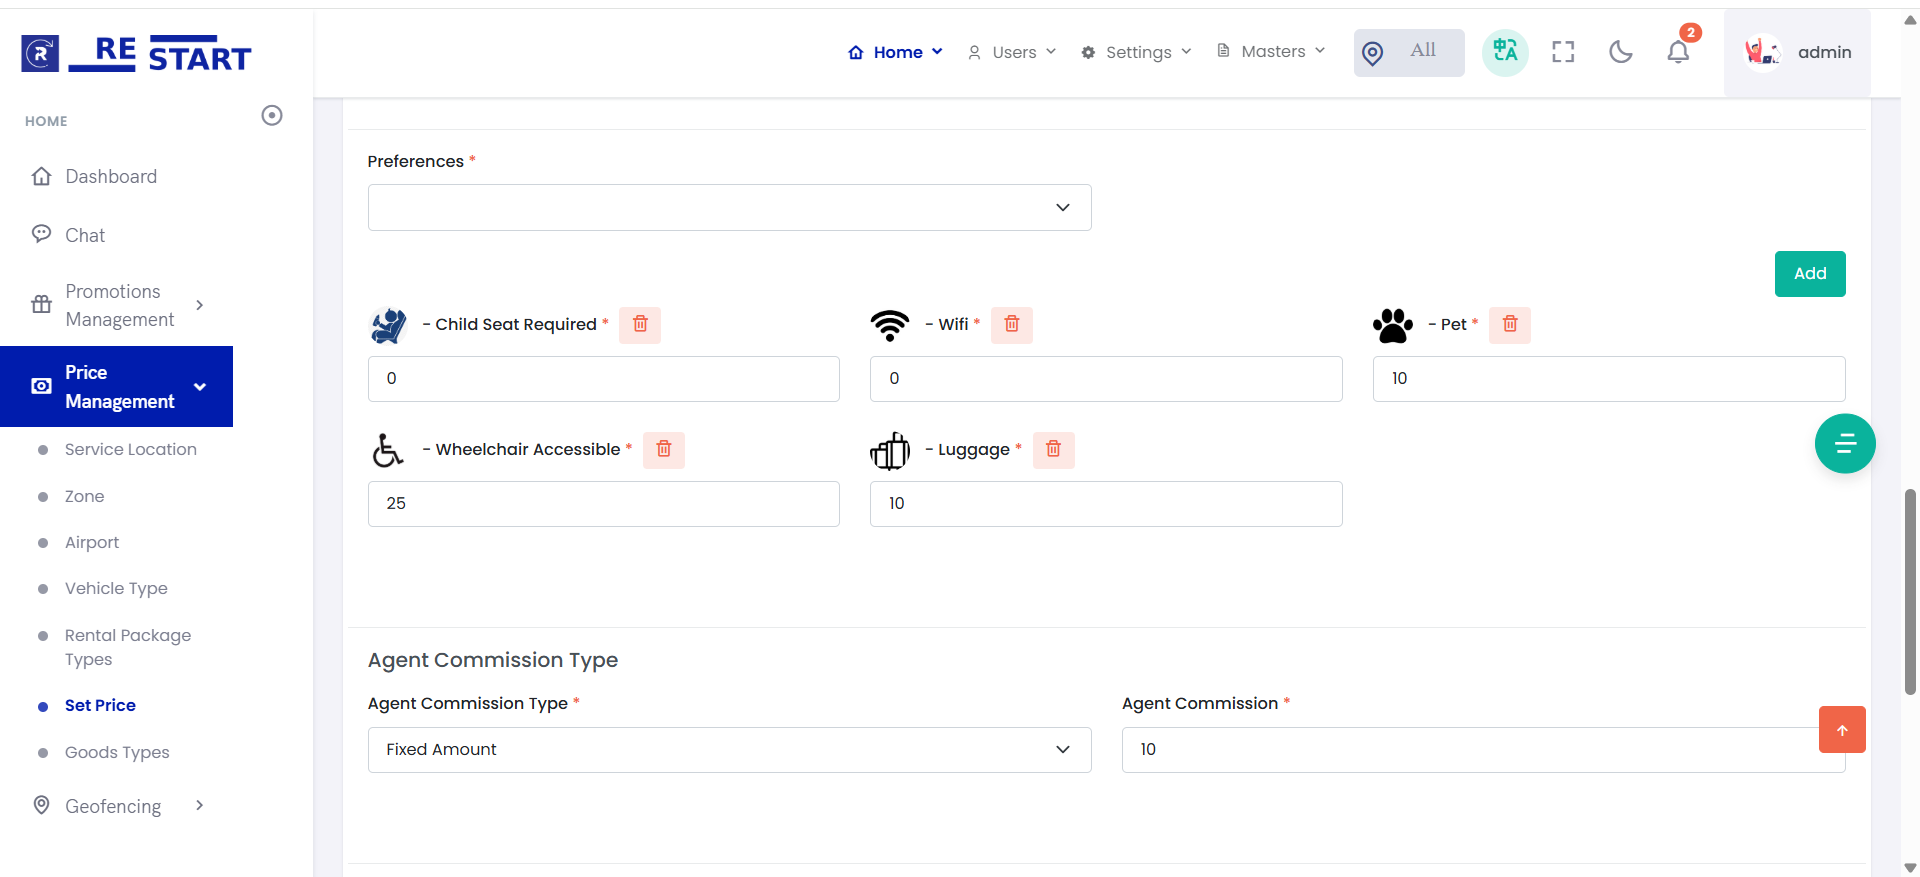
-
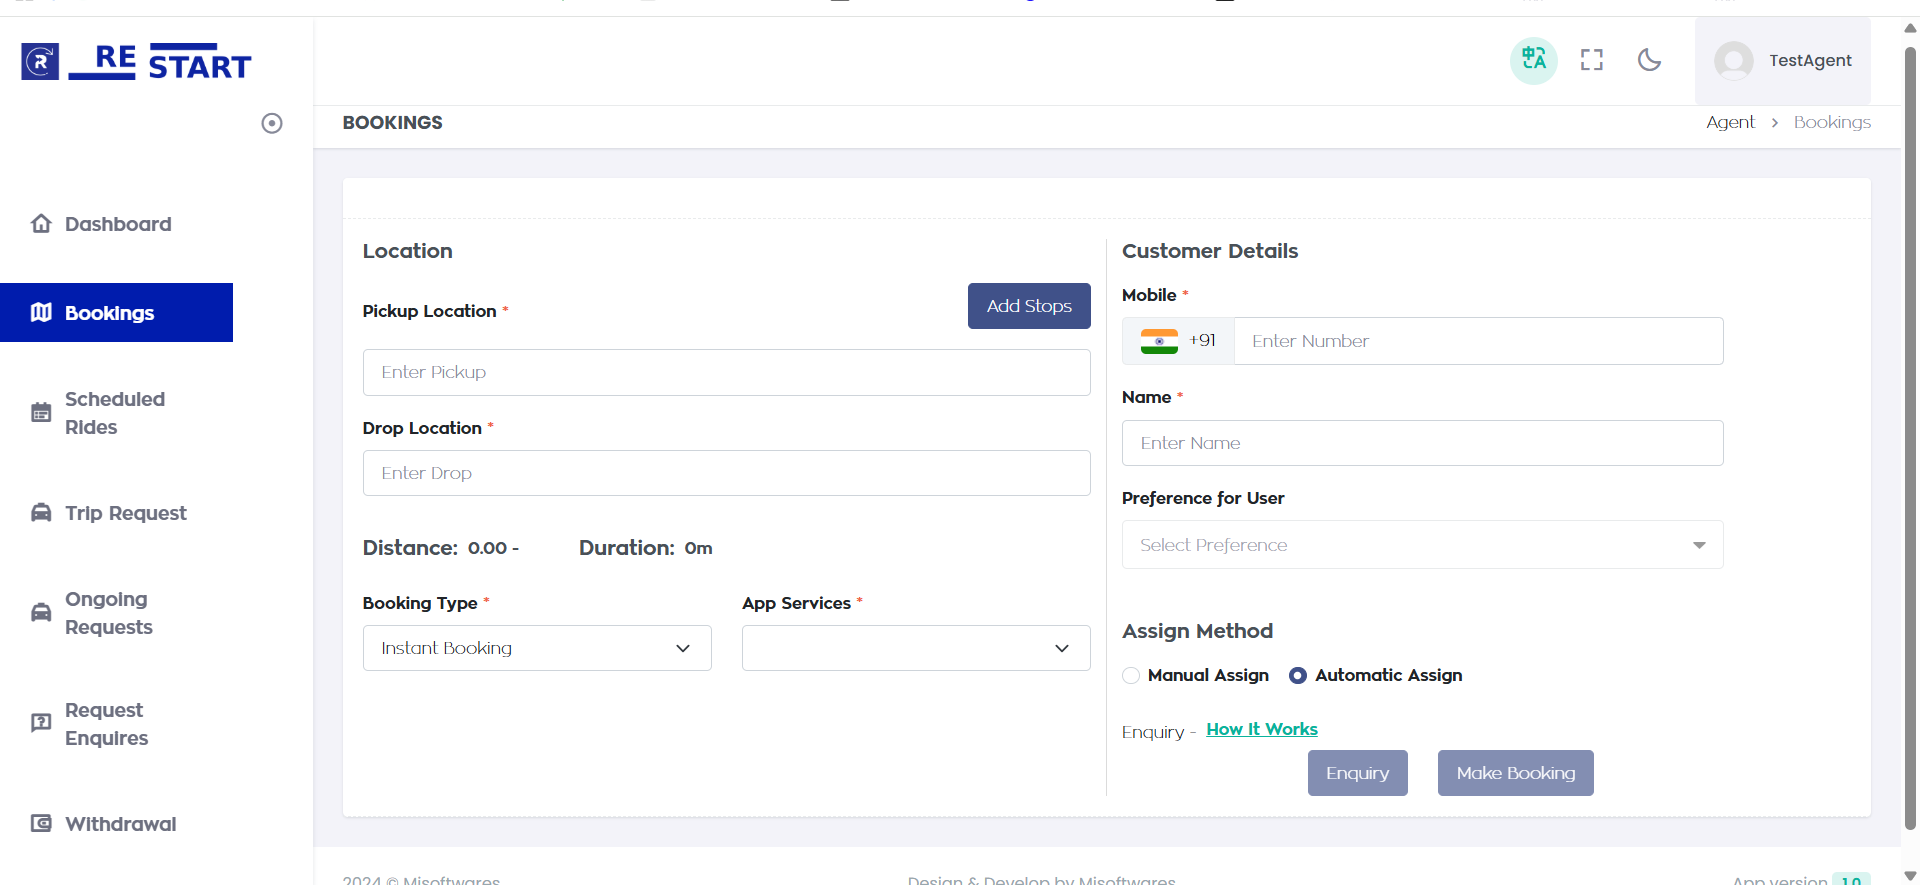
Agents Bookings: After creating an agent, log in as the agent, book rides, and the commission will be added to the wallet after the ride ends.
-
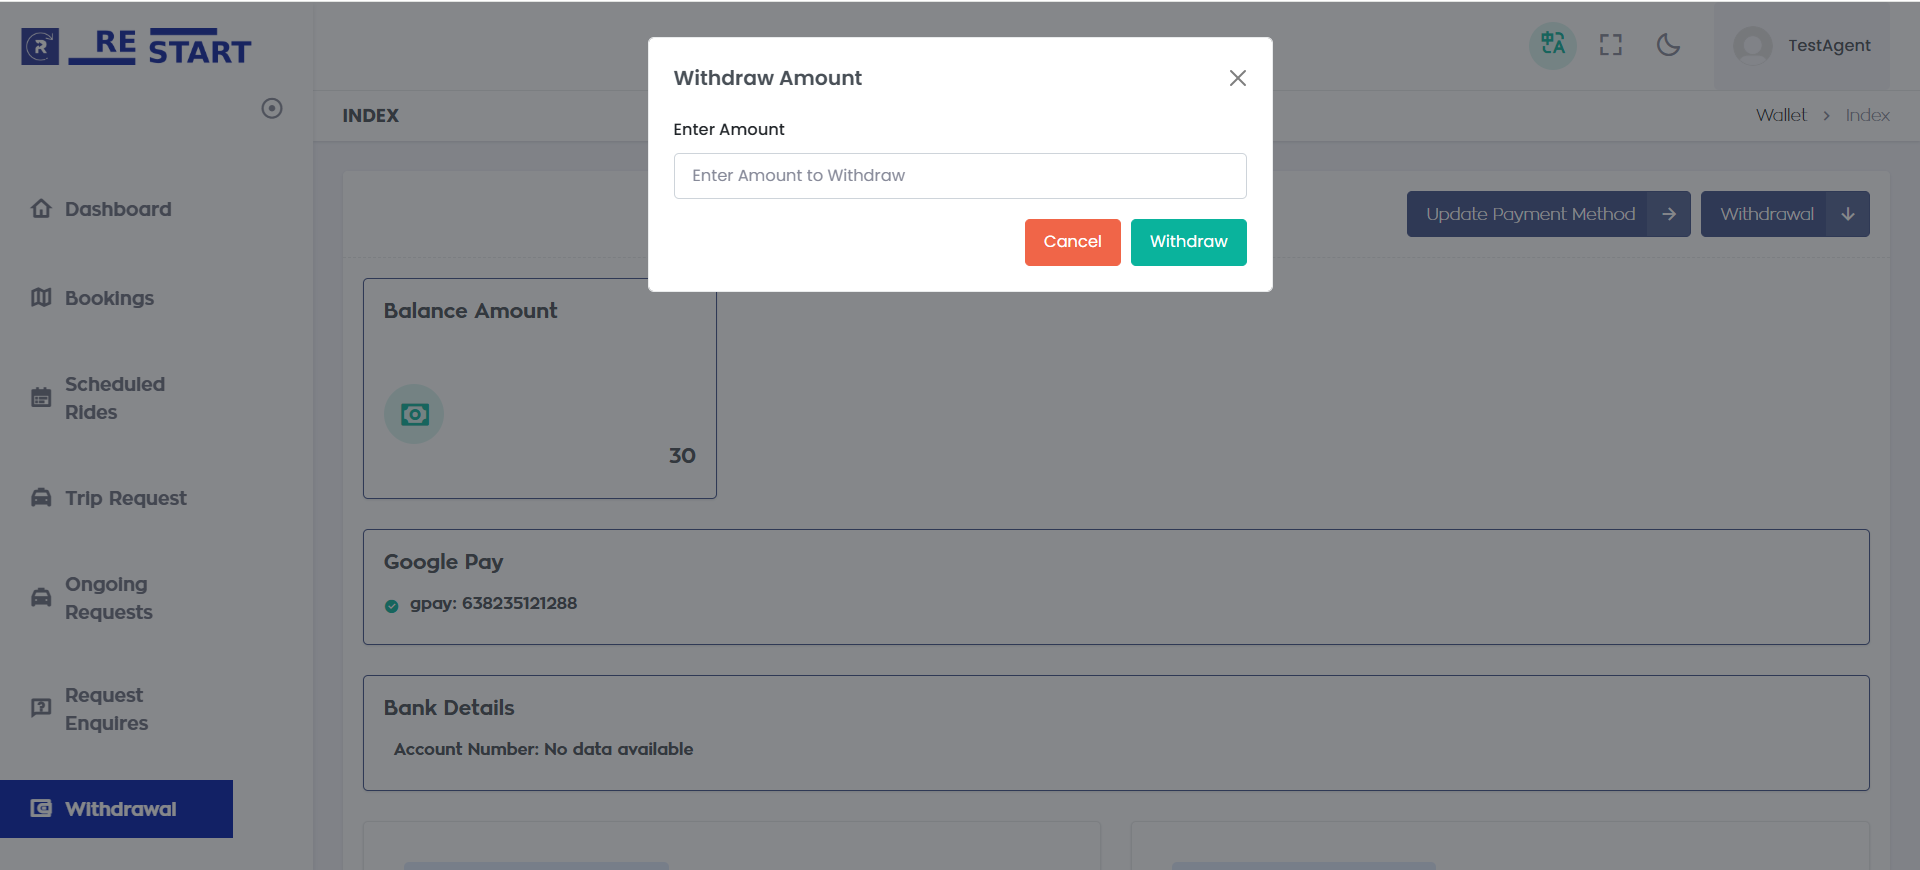
Agents Withdrawal: Agents can withdraw the amount from their wallet after the admin approves the request.